Preparing the Advent Pulpit Fall Design
Preparing the Advent Pulpit Fall Design
Time is slipping away, and preparing the Advent Pulpit Fall needs to get started. The Ecclesiastical Embroidery Design selected for the Pulpit Fall will be a combination of applique and couching stitches. (At least that is the plan for now).
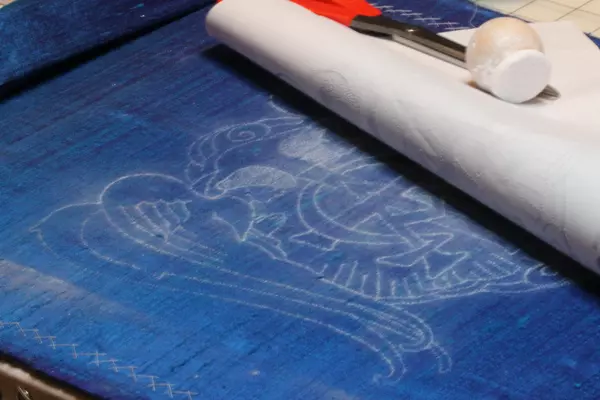
The Prick-and-Pounce Design Technique
To aid with the placement of the applique pieces, I decided to transfer the Ecclesiastical Design to the Silk Dupioni using the prick-and-pounce method of design transfer. When I first learned about this technique for transferring an embroidery design, it took a year, maybe longer than that, before I took the plunge and gave it a try. The thought of doing this method of embroidery design transfer was terrifying. Pouncing that powder through little tiny holes in a design could never work, (so I thought) but even if the pouncing worked, how could I trace the lines well enough to have a design worthy of embroidering? Then there was the thought of charcoal – it would go everywhere and how would I ever clean it up?
Fear – that was the enemy, and it held me back for years. But, I continued to read and study, and one day, with an abundance of courage, I gave it a try. Rather than being something difficult, this embroidery design transfer method was in fact, rather fun! And now I love this method of design transfer and use it whenever I can. I find it gives an accurate and precise transfer of the original design.
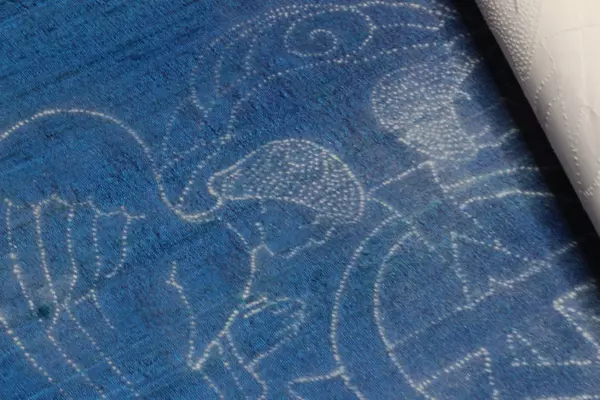
Transferring Designs
To begin, the paper design is placed on the fabric, pinning carefully in place to avoid bubbles. Books or something solid is placed beneath the fabric and the table so that it is level with the frame height. There is no “play” with the fabric. It is sitting on top of something solid. Pouncing commences. Frequent checking is needed to ensure the entire embroidery design is transferred. The pattern is never removed until the entire design is double-checked for accuracy and completeness of transfer. Lift a corner on one edge and check. If the design is not dark enough, replace the pattern and go over the area again with the pounce powder. Be sure to pounce in an up-and-down motion, and do not rub. Rubbing tends to cause the pounce to “blur” under the fabric, rather than to give a clean line of dots.
Micro Pen
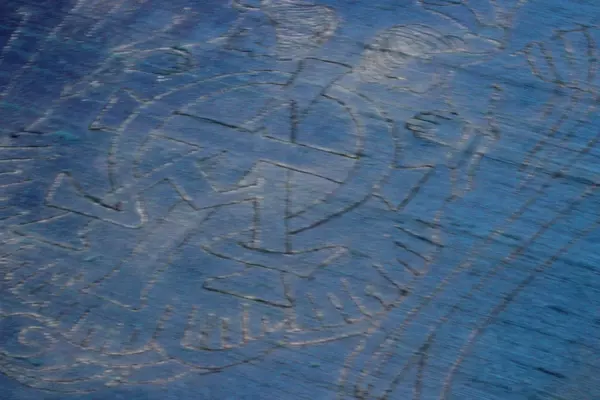
Using a micro tip pen, the pouncing powder dots are traced to create the design lines. At this stage, the design and fabric start to look like a mess. The white powder sometimes builds up on the tip of the pen. The doubts creep in and I think, “How will this ever turn out?”
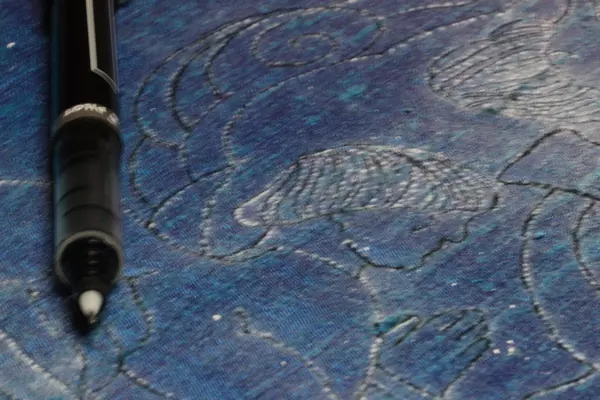
The more detailed the design lines, the worse the tracing looks. A point always comes when one thinks, “It’s ruined!” But wait……………looks are often deceiving! And regretfully, so is the photographer who forgot to take the most important shot.
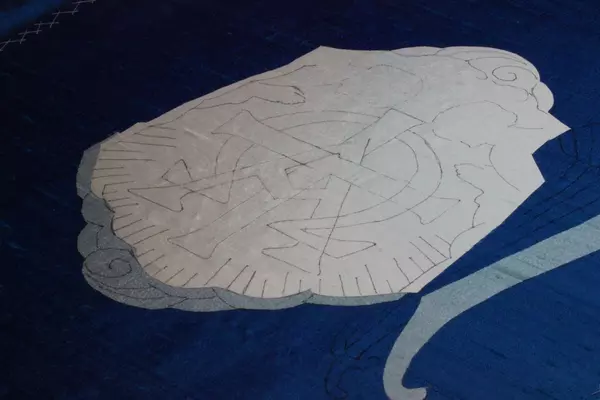
My apologies, but it was so exciting that the design turned out beautifully once again, that I rushed on to the applique process without taking a photo of the finished tracing of the design. The only visible hint of how well this works is the angel wing on the right side.
This tracing process is reminiscent of the dot-to-dot designs we all did as kids. Remember what fun connecting the dots was? And the thrill of finally seeing the “picture” when the dots were all finished? That same thrill comes when all of the dots of an embroidery transfer are connected. Or rather, it will soon come – once the mess of the transferred powder is cleaned up
Embroidery Cleanup
There is one little tip that cleans up the disastrous powder mess in the above photos. That rescuer is a vacuüm cleaner. Yes – that faithful cleaner of carpets and furniture comes to the rescue of embroidery design transfers. Using a brush attachment and very “gentle” suction, I carefully go over the transferred powder and vacuüm it all away. Carefully! With some transfer powders such as charcoal, a flick of the fingers on the back of a drum-tight frame usually removes the powder. But this white quilt pounce likes to be a bit sticky. The vacuüm is the only thing that really cleans up the mess. And, when the embroidery starts, one does not want powder residue of any form or color to mar the beauty of the threads.

The applique process is finished, and while the purest in me dislikes the use of fusible bonding materials such as Stitch Witchery or a fusible bonding web, there is a time and place, even for this, in Ecclesiastical Embroidery and sewing.
Interim Set
This Advent Vestment set is an interim set. It is not meant to last for 30 or 40 years. It should have a life of 5 to 10 or maybe even 15 years if the set is well cared for. And it is not intended to be worked as a “masterpiece.” With the knowledge of the intended use for the Advent Set in mind, the construction process is open to using “speed techniques,” and using a fusible web for the applique fits the intended usage parameters.
All of the above applique parts are cut from various colors of Silk Dupioni, except the flesh-colored hands and face. The flesh color is cut from a cotton/linen blend. All of the pieces are ironed in place with fusible web and are now ready for couching stitches. Having the design traced out on the blue silk made the placement of the applique pieces very easy and accurate. Now the pulpit fall is ready for couching. Putting things in perspective, if, as in the old books, a homemade paste was used to glue applique pieces in place, perhaps the use of the fusible web is not so bad after all for this Ecclesiastical Sewing Project after all.
Solo Dei Gloria
Be sure to visit our online store front Ecclesiastical Sewing where you may shop for Liturgical Fabrics, altar linen fabrics, church vestment-making patterns, liturgical machine embroidery designs, church vestment trims, notions and so much more. You may also find us on Ecclesiastical Sewing on Facebook, Twitter, and Pinterest. Sign up for our mailing list at the bottom of the page on our online store front and receive a free copy of our Small Linens Booklet as our way of saying thank you for following along.
A Simple Design Framed Up
Pouncing with the Blues
Good Friday Pulpit Fall
Advent Altar Hanging and Pulpit Fall Ideas
How to prepare fabric for Machine Embroidery
Design Options for Christmas Set
What To Do in 20 Minutes
Ecclesiastical Embroidery Pattern Solution



 RSS - Posts
I love prick & pounce! And the only way I built up enough courage to try it (which seems ludicrous now) was via a bobbin lace group I once frequented. Of course the patterns for lace are all done on a pricking card. One bravery led to another and now I use this almost exclusively on embroidery. And yes it is fun! I like your vacuum cleaner method for the pounce powder!