Framing Steps Part 2 Advent
Framing Steps Part 2 Advent
Framing Steps Part 2 Advent: It’s linen time! This is exciting because linen means an Ecclesiastical Embroidery project is one step closer to being ready for the hand embroidery to start. While one step closer is a great thing, it does not mean the Ecclesiastical embroidery is only moments away, or at least not always.
All hand embroidery and sewing is a series of steps, completed in an orderly progression, which builds on itself, and in the end, becomes a finished item. Framing linen may be familiar territory for many of you, and you may even have suggestions on how to do this better. But for those who are unfamiliar with the use of a stretcher frame, bear with me while I try to provide detailed, step-by-step instructions for a beginner.
Selecting the Evertite Stretcher Bars
So – let’s jump in and get that next step finished so we can move on to another step.
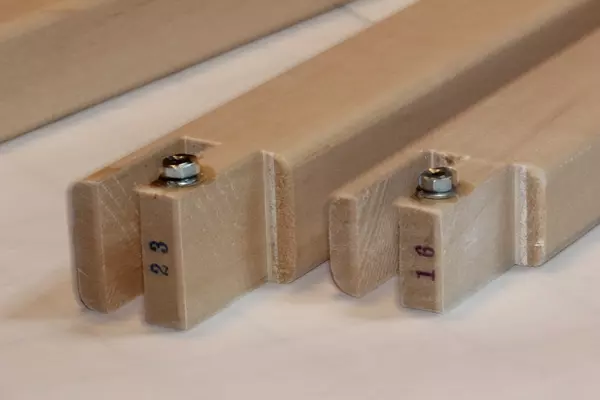
To frame up the Altar superfrontal design and the pulpit fall design, the selected frame sizes are 16″ and 23″ bars. If one looks closely, the bars in the above photo are not the same size. Notice that the 23″ bars are slightly “thicker” in their width. This is a nice feature that ensures that a long bar length will not bow or warp while stitching. Seeing the different sizes may lead one to believe that these bars are not intended to be used together. And so I thought. But I have set up several frames that use bars of different widths and so far have not had any issues.
These are such “solid” frames that feel good to use. Another nice feature is that each end of the bar is stamped with the length measurement so no need to ever be guessing if you have a matching pair!
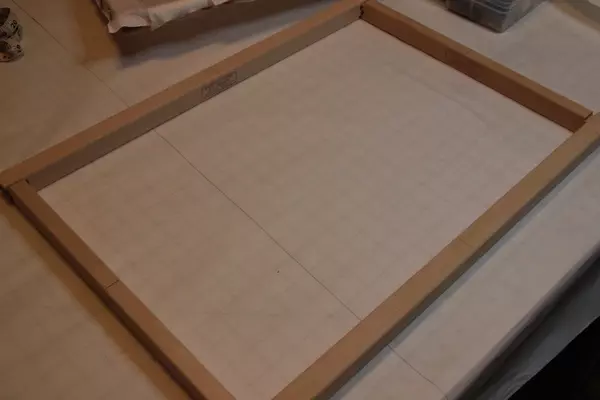
Once a frame is assembled, there is a tiny step I take with every stretcher frame before the linen is applied. The frame is placed on my work table and checked on the gridded mat to ensure it is squared up. It is amazing how often the frame “looks” square and is not. A tiny nudge here and there fixes the issue easily. If the frame is not “square,” stretching the linen off-grain could lead to a myriad of problems. Oh – that is not a pleasant thought!
Preparing the linen
Preparing the linen for framing is the first step. It should be preshrunk and pressed before starting the framing process.
Linen should always be cut by the thread. Unfortunately, the camera was not out during the cutting process. It went like this:
- A small snip was made in the edge of the fabric allowing for the desired length.
- Along one of the cut edges of the snip, grasp a thread and gently pulled. Notice as the thread is pulled, a line appears in the fabric, and the fabric starts to “bunch.”
- Carefully cut along the line created by the pulled thread.
- As you near the end of the line, stop and carefully pull the thread again, and repeat the pulling/cutting process for the desired length.
- Repeat the process again for the desired width of the fabric.
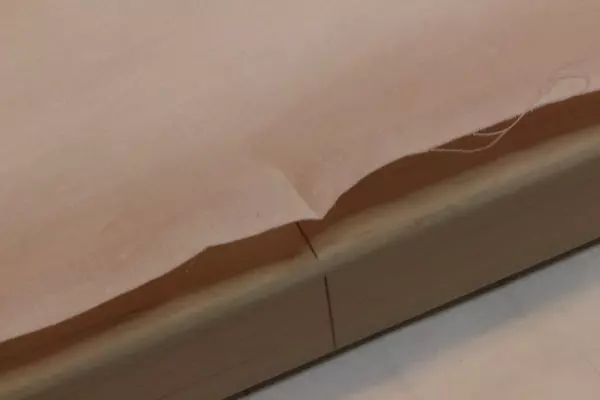
Next, fold the fabric in quarters and make a tiny crease in the middle of each of the four sides. The crease becomes the reference point to match the center line of each bar, as seen in the above photo.
Using the crease on the side of the linen, pin it in place at the center mark on the frame. Repeat on the opposite side of the frame.
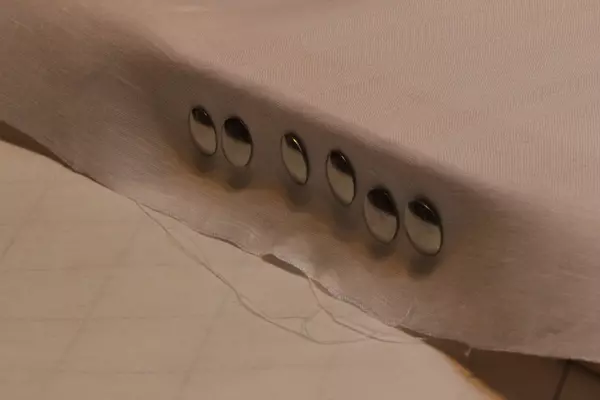
Tack Placement for Linen Tension on Embroidery Frames
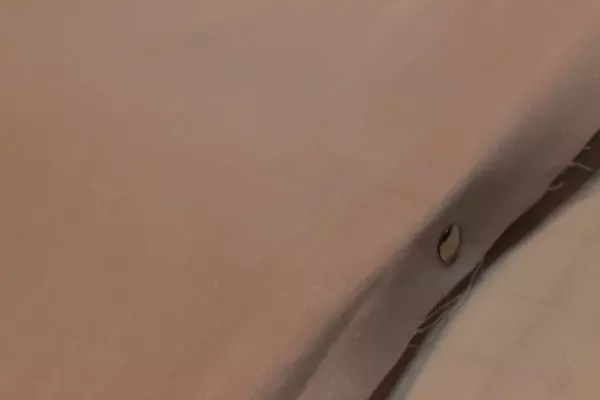
Working back and forth on either side of the center mark, add a few additional tacks, making sure that the linen remains consistent in the width hanging over the edge of the frame. When a few tacks are in place on either side of the center mark, switch the frame over to the other opposite side and repeat the process. Be sure to keep the linen taunt and check it frequently as you pull the linen over the edge of the frame.
If the grainline at the edge of the frame starts to look “wavy,” undo a few tacks, and stretch and pull the linen to straighten the grainline. Continue alternating back and forth between sides. After I have put in a few tacks on either side of the center, I switch the frame and add tacks on the opposite edges of the frame so that there are tacks on all four sides. Continue to check that the linen is on grain and square.
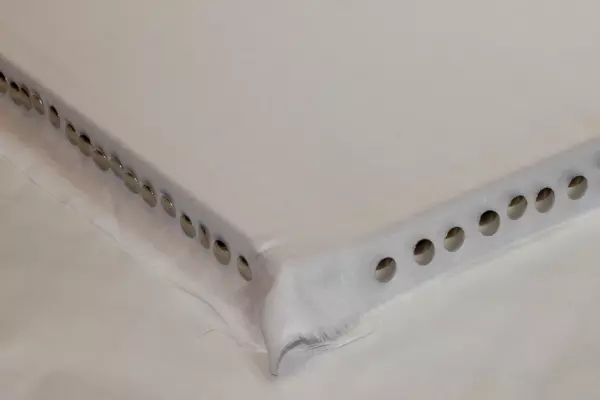
Linen Stretching on Embroidery Frames
Continue pinning down the width of the frame, and alternate with pinning the length. As this framing moves along, on occasion, a section may have the tacks removed, the linen stretched a little tighter, readjusting a section at a time. I like to get the linen drum tight or as tight as possible when it is stretched on the frame the first time. That still leaves enough room to make lots of adjustments to tension with the adjustment screws during the stitching process.
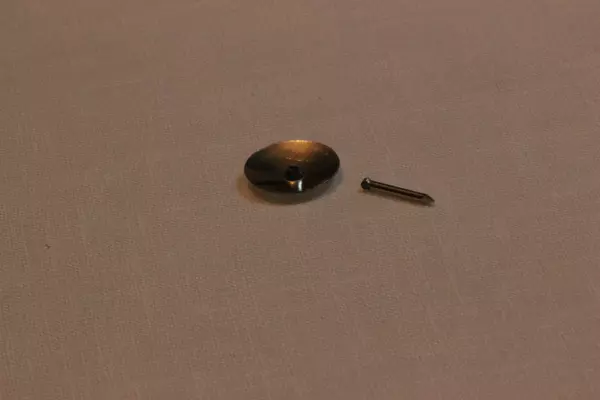
Choosing Right Tools
There are specific tacks available for use with the Evertite Stretcher bars and they work great. But, having only 2 packs of the correct tacks, and 4 projects framed at the moment, there were no more of the correct tacks on hand. They have to be ordered. Trying to avoid that delay, I went to my local builder’s supply store and purchased a box of tacks. They are smaller than the original Prima tacks both in the size of the “nail” and the size of the “head.” What I noticed in using these building store tacks is that they frequently “bent” as they were pushed into the frame.
Two of the tacks actually broke. One tack had the head break off, and the nail part was still stuck in the frame. Luckily I was able to get the nail out. Pushing these small tacks into the frame was not easy at all. It was a rather painful process. So, the lesson learned is that in a pinch, the tacks from the building supply store will work, but the ones made for the frame, with the larger head and nail, are much easier to push into the frame. And I have never had a problem with one of the original tacks bending, breaking, or causing pain during the framing process. The correct tacks are on the shopping list when I next get to the needlework shop.
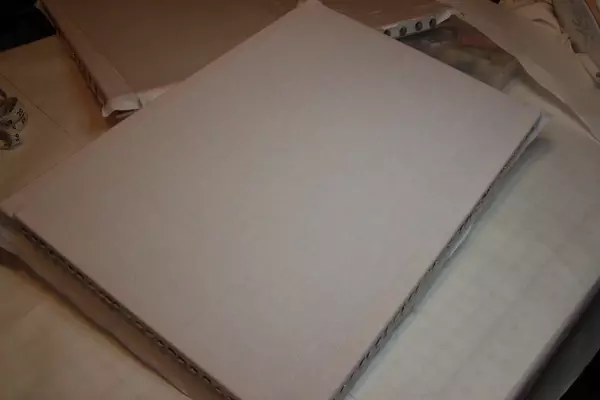
Frame up Linen
So, the frame and linen are ready to go. It is a light cambric weight linen, intended for use as altar linens such as fair linens, corporals, purificators, and the like. Later on, I will explain my thoughts behind the selection of this linen as the base, and as the project progresses, we shall see if it was the correct choice.
This frame should hold the pulpit fall design as well as the Alpha and Omega, and cross for the superfrontal of the Advent vestment set. Tomorrow, I hope to have the designs and the applique pieces in place.
Until next time……….may all of your projects frame beautifully!
Solo Dei Gloria
Be sure to visit our online store front Ecclesiastical Sewing where you may shop for Liturgical Fabrics, altar linen fabrics, church vestment-making patterns, liturgical machine embroidery designs, church vestment trims and notions and so much more. You may also find us on Ecclesiastical Sewing on Facebook, Twitter, and Pinterest. Sign up for our mailing list at the bottom of the page on our online store front and receive a free copy of our Small Linens Booklet as our way of saying thank you for following along.
Hand Embroidery Design Framed Up
Framing Steps
Technical Difficulties and Framing Dilemmas
New Embroidery Frames Mean New Projects
Slate Frames – How to Determine Size
All in a Day’s Work


 RSS - Posts
You must be logged in to post a comment.