Top 5 Pastor Stole Finishing Touches
Top 5 Pastor Stole Finishing Touches
 We love details and when making pastor or priest stoles in the Ecclesiastical Sewing workroom, there are always a few last-minute details to stitch up before completing that final press and sending a stole off to a new church home. For those who love lists, here are our top 5 stole finishing touch
Top 5 Finishing Tips
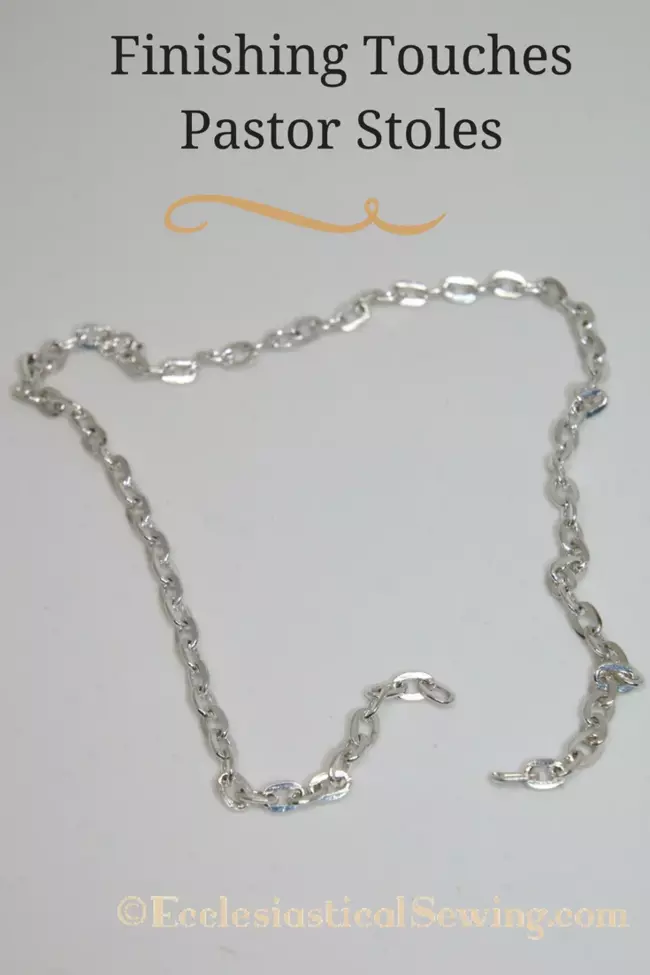
- Adding a neckline chain. This little detail serves a minor purpose – or even two! First, it lifts the stole slightly off the neckline so that the stole won’t crush or crease at the neckline. And, it also helps keep natural oils from the skin and hair from accumulating on the stole as quickly. This minimizes the need for using stole protectors at the back neckline of the stole.
To add the neckline chain, you will be working on the back side of the stole once all of the other sewings are complete.
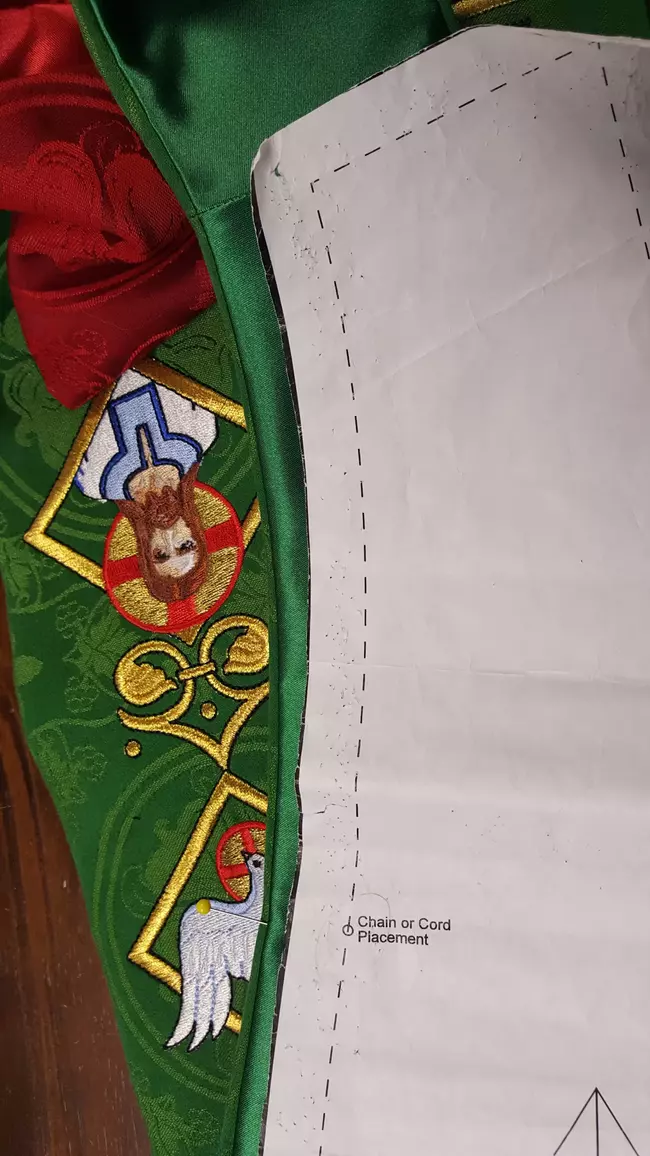 Pull out the Clergy Stole Pattern piece that is labeled “lining” and align the center back neckline seam of the pattern piece with the center back seam of the stole. Notice there is a mark on the clergy stole pattern showing where to place the stole chain? Use a pin to mark where the chain is placed. The pin is placed perpendicular to the stole and inserted into the lining fabric on the back side of the stole to mark the spot.
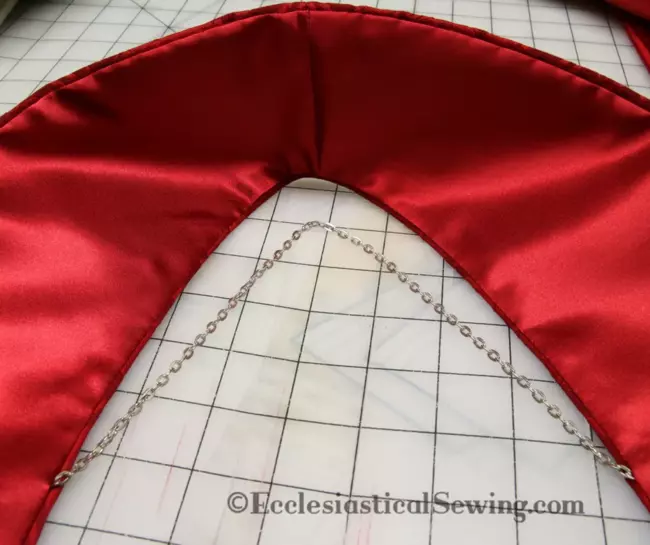
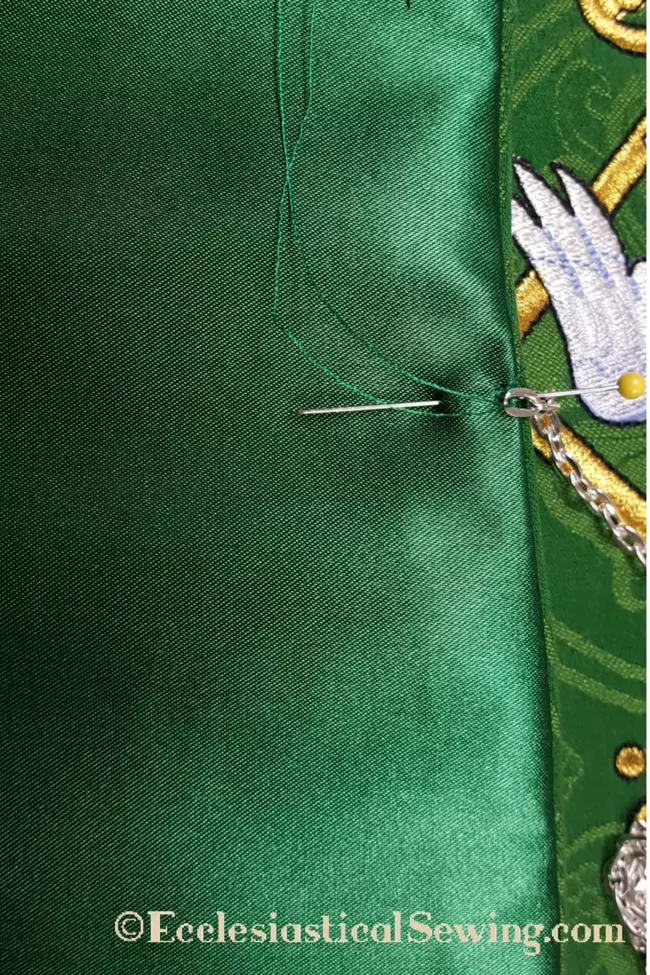 Once the spot is marked, sew one link of the chain in place at the mark. The chain is only tacked to the lining near the edge and is not tacked through the face fabric. It helps to sew on both long sides of the link, rather than just sewing at the bottom edge of the link. Repeat these steps on the other side of the stole and you are finished! The chain length is slightly shorter than the length of the neckline curve.
2. The next thing to do is to check that all of your threads are clipped. Give the stole a good once over with an “Eagle Eye” looking for any possible threads that have little tails hanging out and give them a quick clip. Be picky here.
3. Check all of your seams and turned edges making sure they are as straight and even as you can make them. This takes time and a bit of practice. Also, check the bottom ends of the stole to make sure they are neat and tidy. The lining corners should be square and the bottom hem of the lining should be even along the bottom edge. If something is not quite right, don’t be afraid to give it another go. Remember, practice makes perfect! Just be careful if you need to do any “Reverse Stitching” (which is more affectionately known as ripping out stitches). 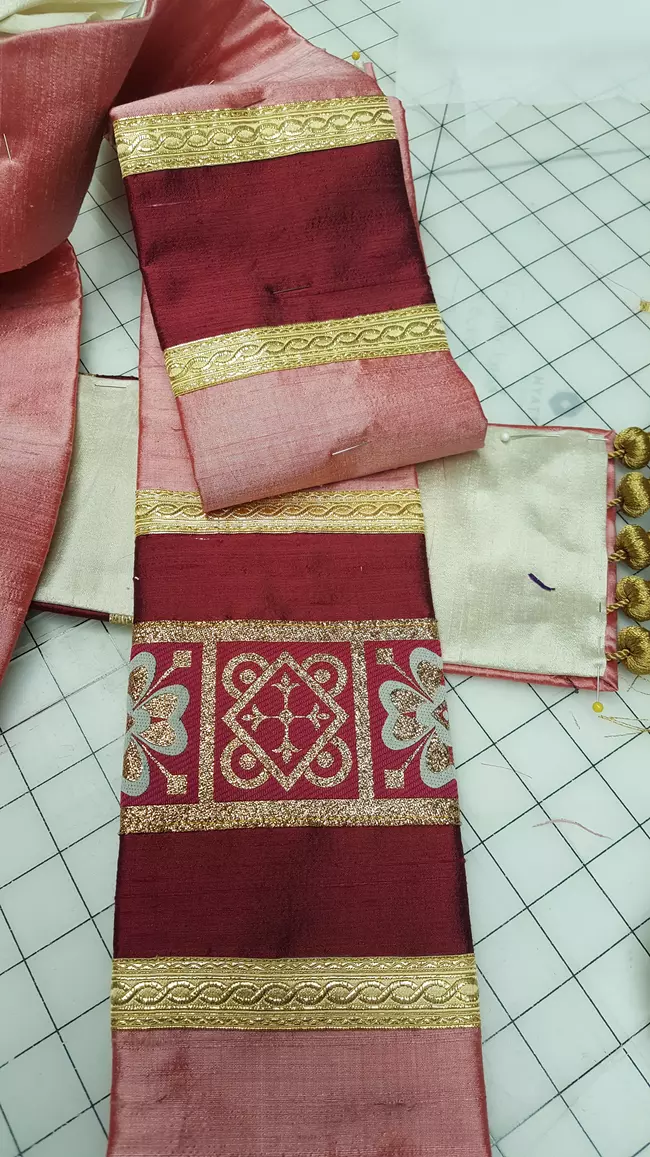
4. Pressing – A pastor or priest stole can be beautifully made but pressing is the “polish” that sets off all of your hard work and really makes a clergy stole or any garment shine. Pressing can be a bit of a challenge. For those who remember the days when we used to “tailor”, we used a block of wood called a pounding block or clapper. A good pounding block is a must when making stoles. It helps to flatten and set seams. To use a pounding block or clapper, carefully test the heat of your iron, press with the iron and a pressing cloth if needed, remove the iron, and then “clap” the fabric with your pressing block or clapper.
Repeat up and down the entire stole length. For those fortunate enough to have a garment press such as a clam press, this also works well. We use our press many times throughout the day for many purposes, including giving each stole a final press before packaging. If you do not have a clapper or a clam press, you could always take your stole to a dry cleaner that you trust and ask them to press the stole with a dry press. Avoiding steam helps to ensure there are no watermarks.
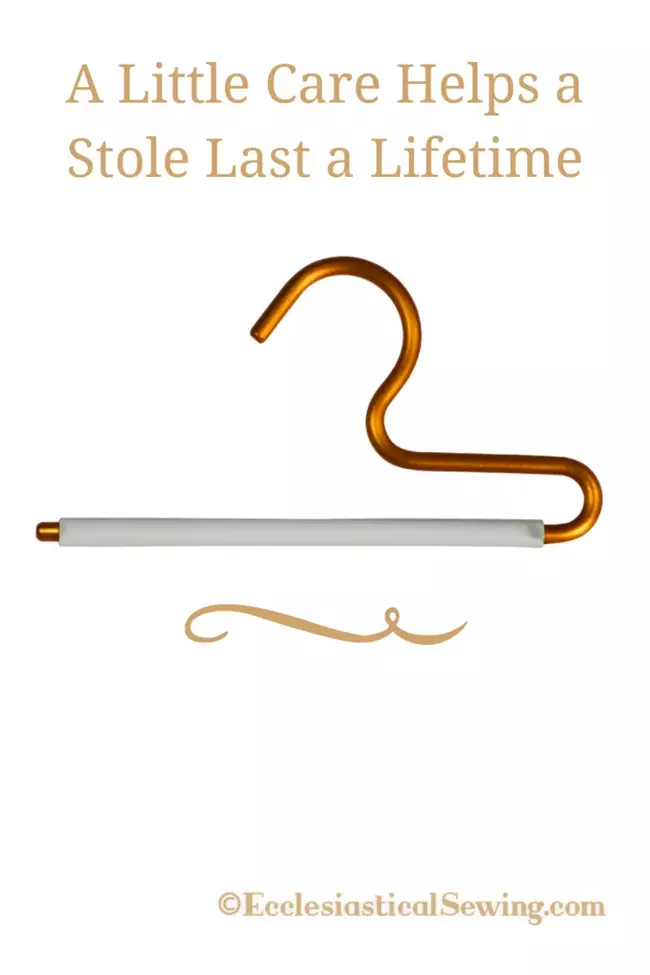
5. And finally, proper hanging for your stole is a must! Stoles spend most of their life just “hanging around” waiting for the next time they will be used. There are stole hangers created specifically for clergy stoles. This little bit of care ensures the stole that has been so lovingly made will last a lifetime and beyond.
There you have it, Our Top 5 Stole Finishing Tips. If you follow these guidelines when you create your own stoles just like we do in the Ecclesiastical Sewing Studios, you will be well on your way to having a finely “polished” and finished pastor or priest stole.
What finishing techniques are at the top of your list when sewing or creating church vestments?
Soli Deo Gloria
Church Vestment Fringe: is there a difference?
Top 5 Tips for Sewing Perfect Chasuble Orphrey Bands
How to Make a Clergy Stole: Stole Making
New Pastoral and Priest Stole Patterns
Outlining: Finishing Touch or Distraction
Top 10 materials for DIY Stole Making
Church Vestment Stole Patterns for Pastors and Priests by Ecclesiastical Sewing
Stole Set


 RSS - Posts
You must be logged in to post a comment.